Seven quality checks worth making on site
Your house is being built, and you want to know where to look.
Most owners see a house at two moments: while it is a drawing, and once it is done. The stretch between is where quality is decided, and it is close to invisible unless you know what to look at.
Sukha Space builds its own work, so the seven checks below are the ones we make on our own sites. Not so that you inspect the work yourself, but so you know what to ask, because asking the right question already changes how a site behaves.
1. Two millimetres, and why that number decides every detail you like
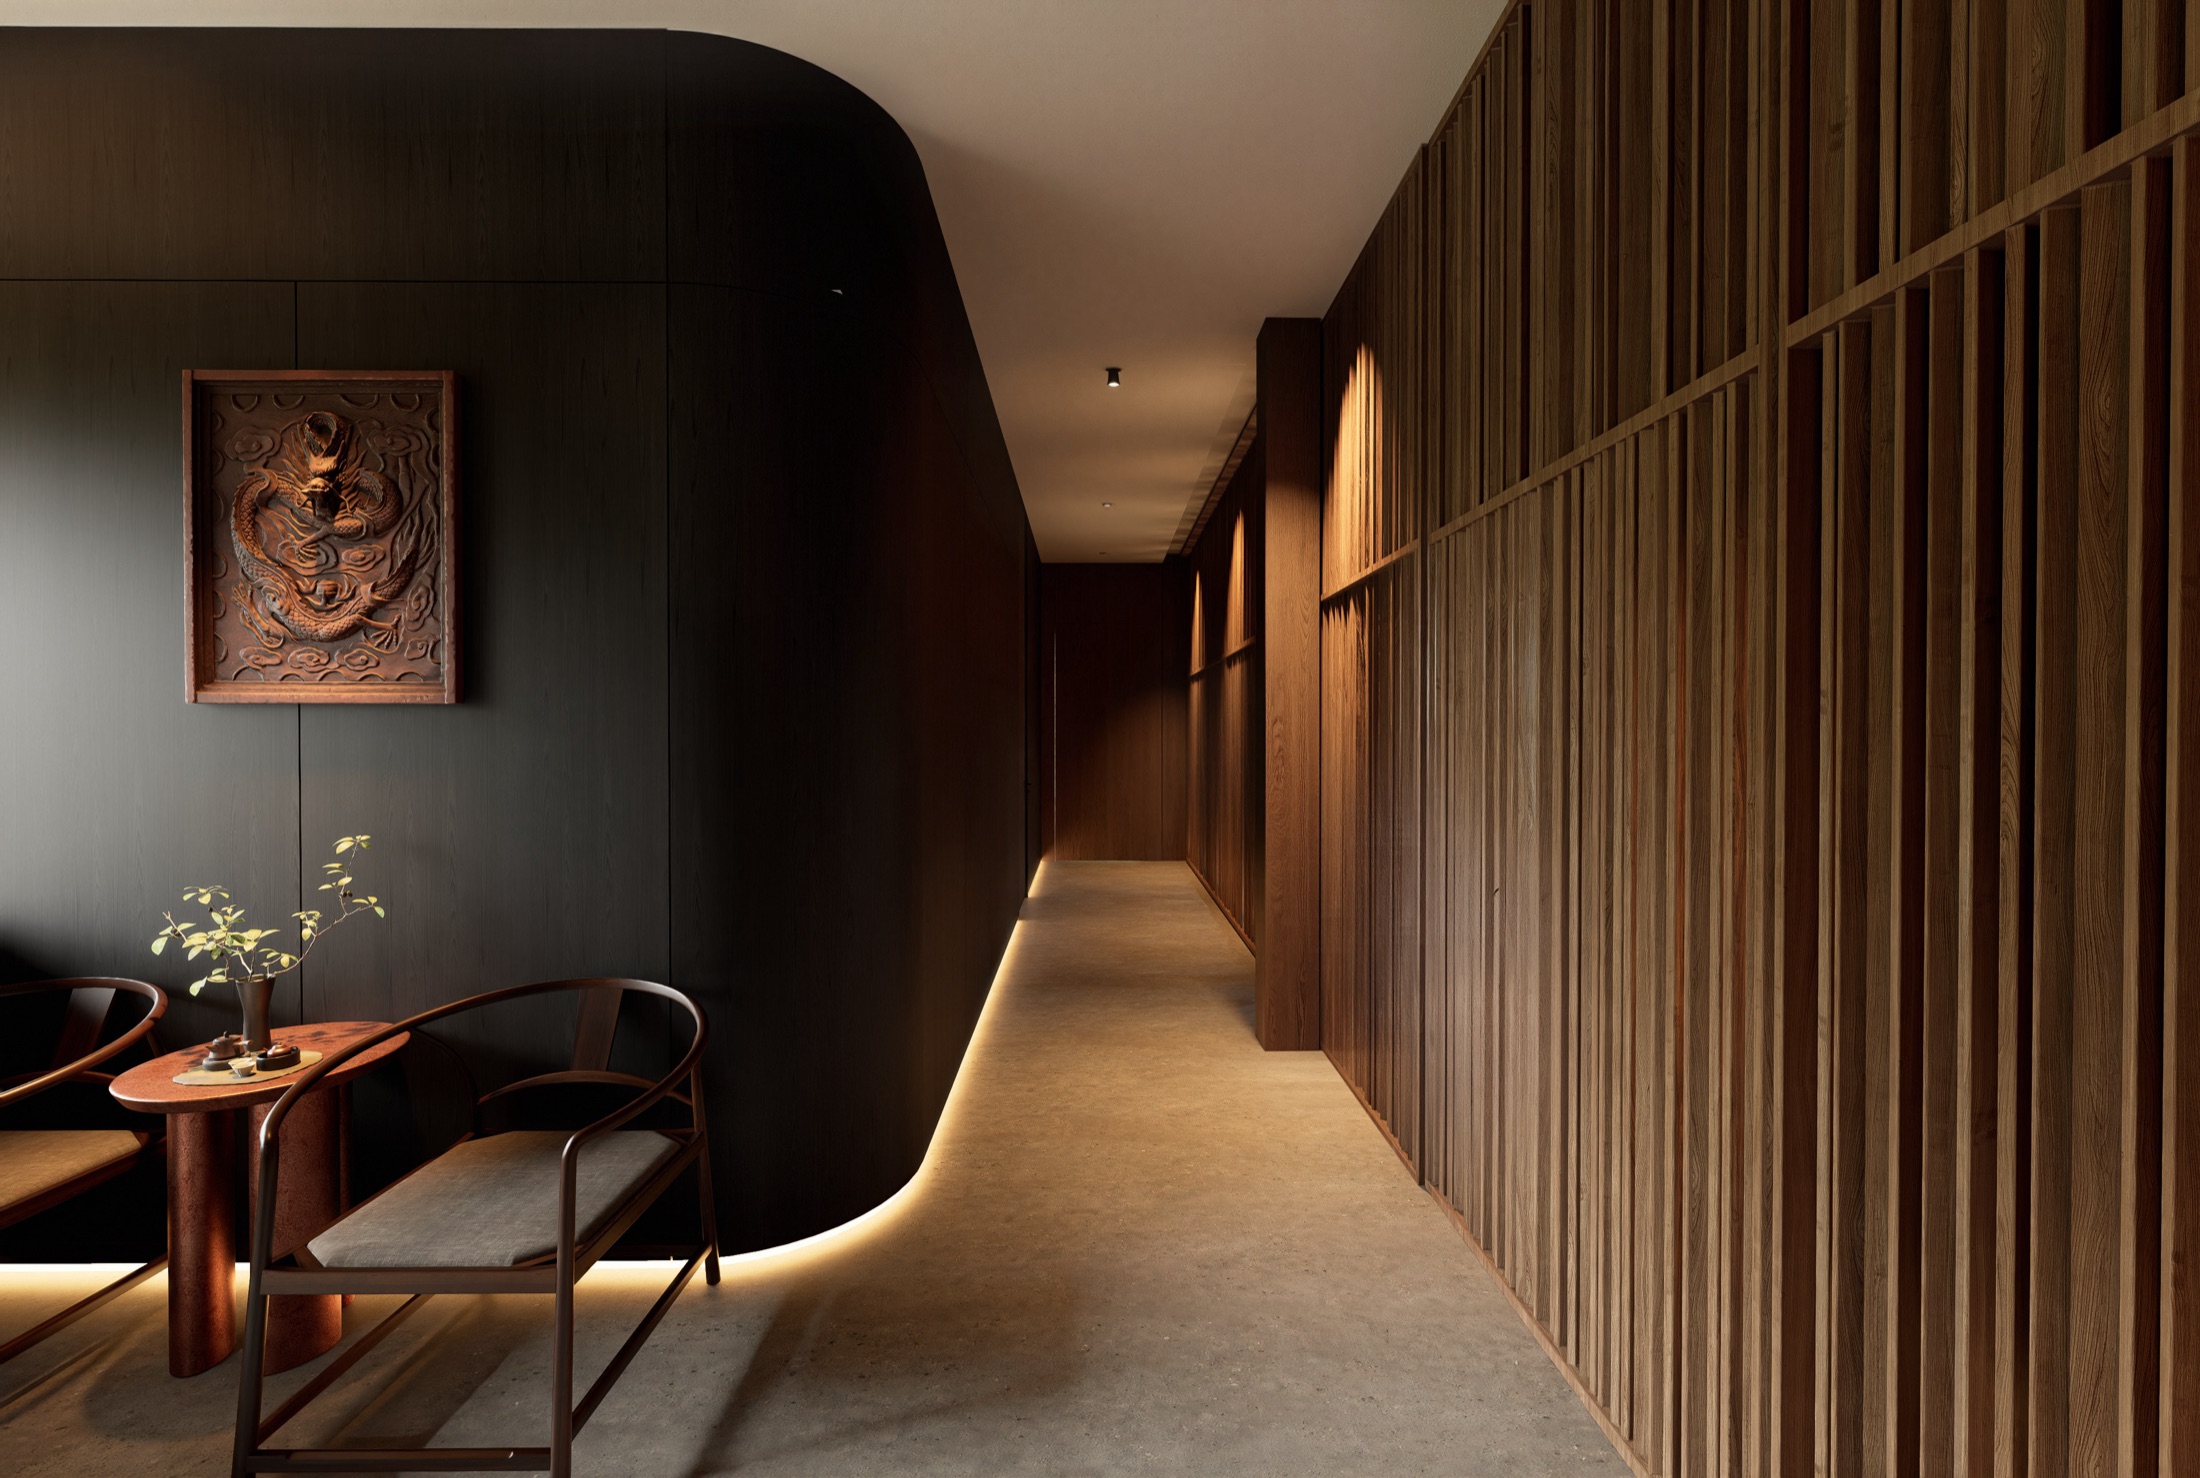
The level usually taken as the benchmark on high end work is: 2 mm for flatness, 2 mm for plumb, and no more than 3 mm out at a corner, measured across the whole house rather than at a few chosen spots.
It sounds technical, but the consequence is easy to see. Shadow gap skirtings, a shadow line at the ceiling, switch plates flush with the wall, a strip of light washing down a wall, a cabinet built to fit an alcove exactly: every detail that makes minimalism look expensive depends on the wall meeting that level.
A wall 8 to 10 mm out still paints well, still takes stone, and still photographs acceptably. It simply cannot carry a straight shadow gap. At that point the only remaining option is to delete the detail from the design, and nobody tells you why.
Worth asking: what do they measure flatness with, and at how many points?

2. Waterproofing should be a measurement, not a promise
Once pipework is installed it should be pressure tested well above working pressure, typically 0.8 to 1.0 MPa, then left alone for half an hour to an hour. Pass or fail rests on a single number: the gauge must not drop by more than 0.05 MPa.
What matters is not the figure but that the result is binary. "Good waterproofing" is a promise. A pressure gauge left alone for an hour promises nothing; it passes or it fails, and there is a photograph either way.
Worth asking: to see the gauge photographed at the start and at the end of the test.
3. A bathroom floor should sit under water for three days before it is tiled
Once the waterproof layer has cured, a wet area floor should be sealed and flooded across its whole surface for 72 hours, after which the ceiling of the room below is checked.
The step costs nothing. It costs three days of programme, which is exactly why it is the one most often shortened. It is hard to catch, because a floor that was never flood tested looks identical to one that was. The difference only appears after a few rainy seasons, when the ceiling below begins to stain.
It is also worth asking how far the waterproofing runs up the wall: 2,400 mm is usual in a shower area, 1,000 mm in a kitchen, with at least 1,000 mm of overlap where the floor meets the wall.
Worth asking: which dates the floor was flooded between, and who went down to check the ceiling.
4. Whether a wall is flat shows under a raking light
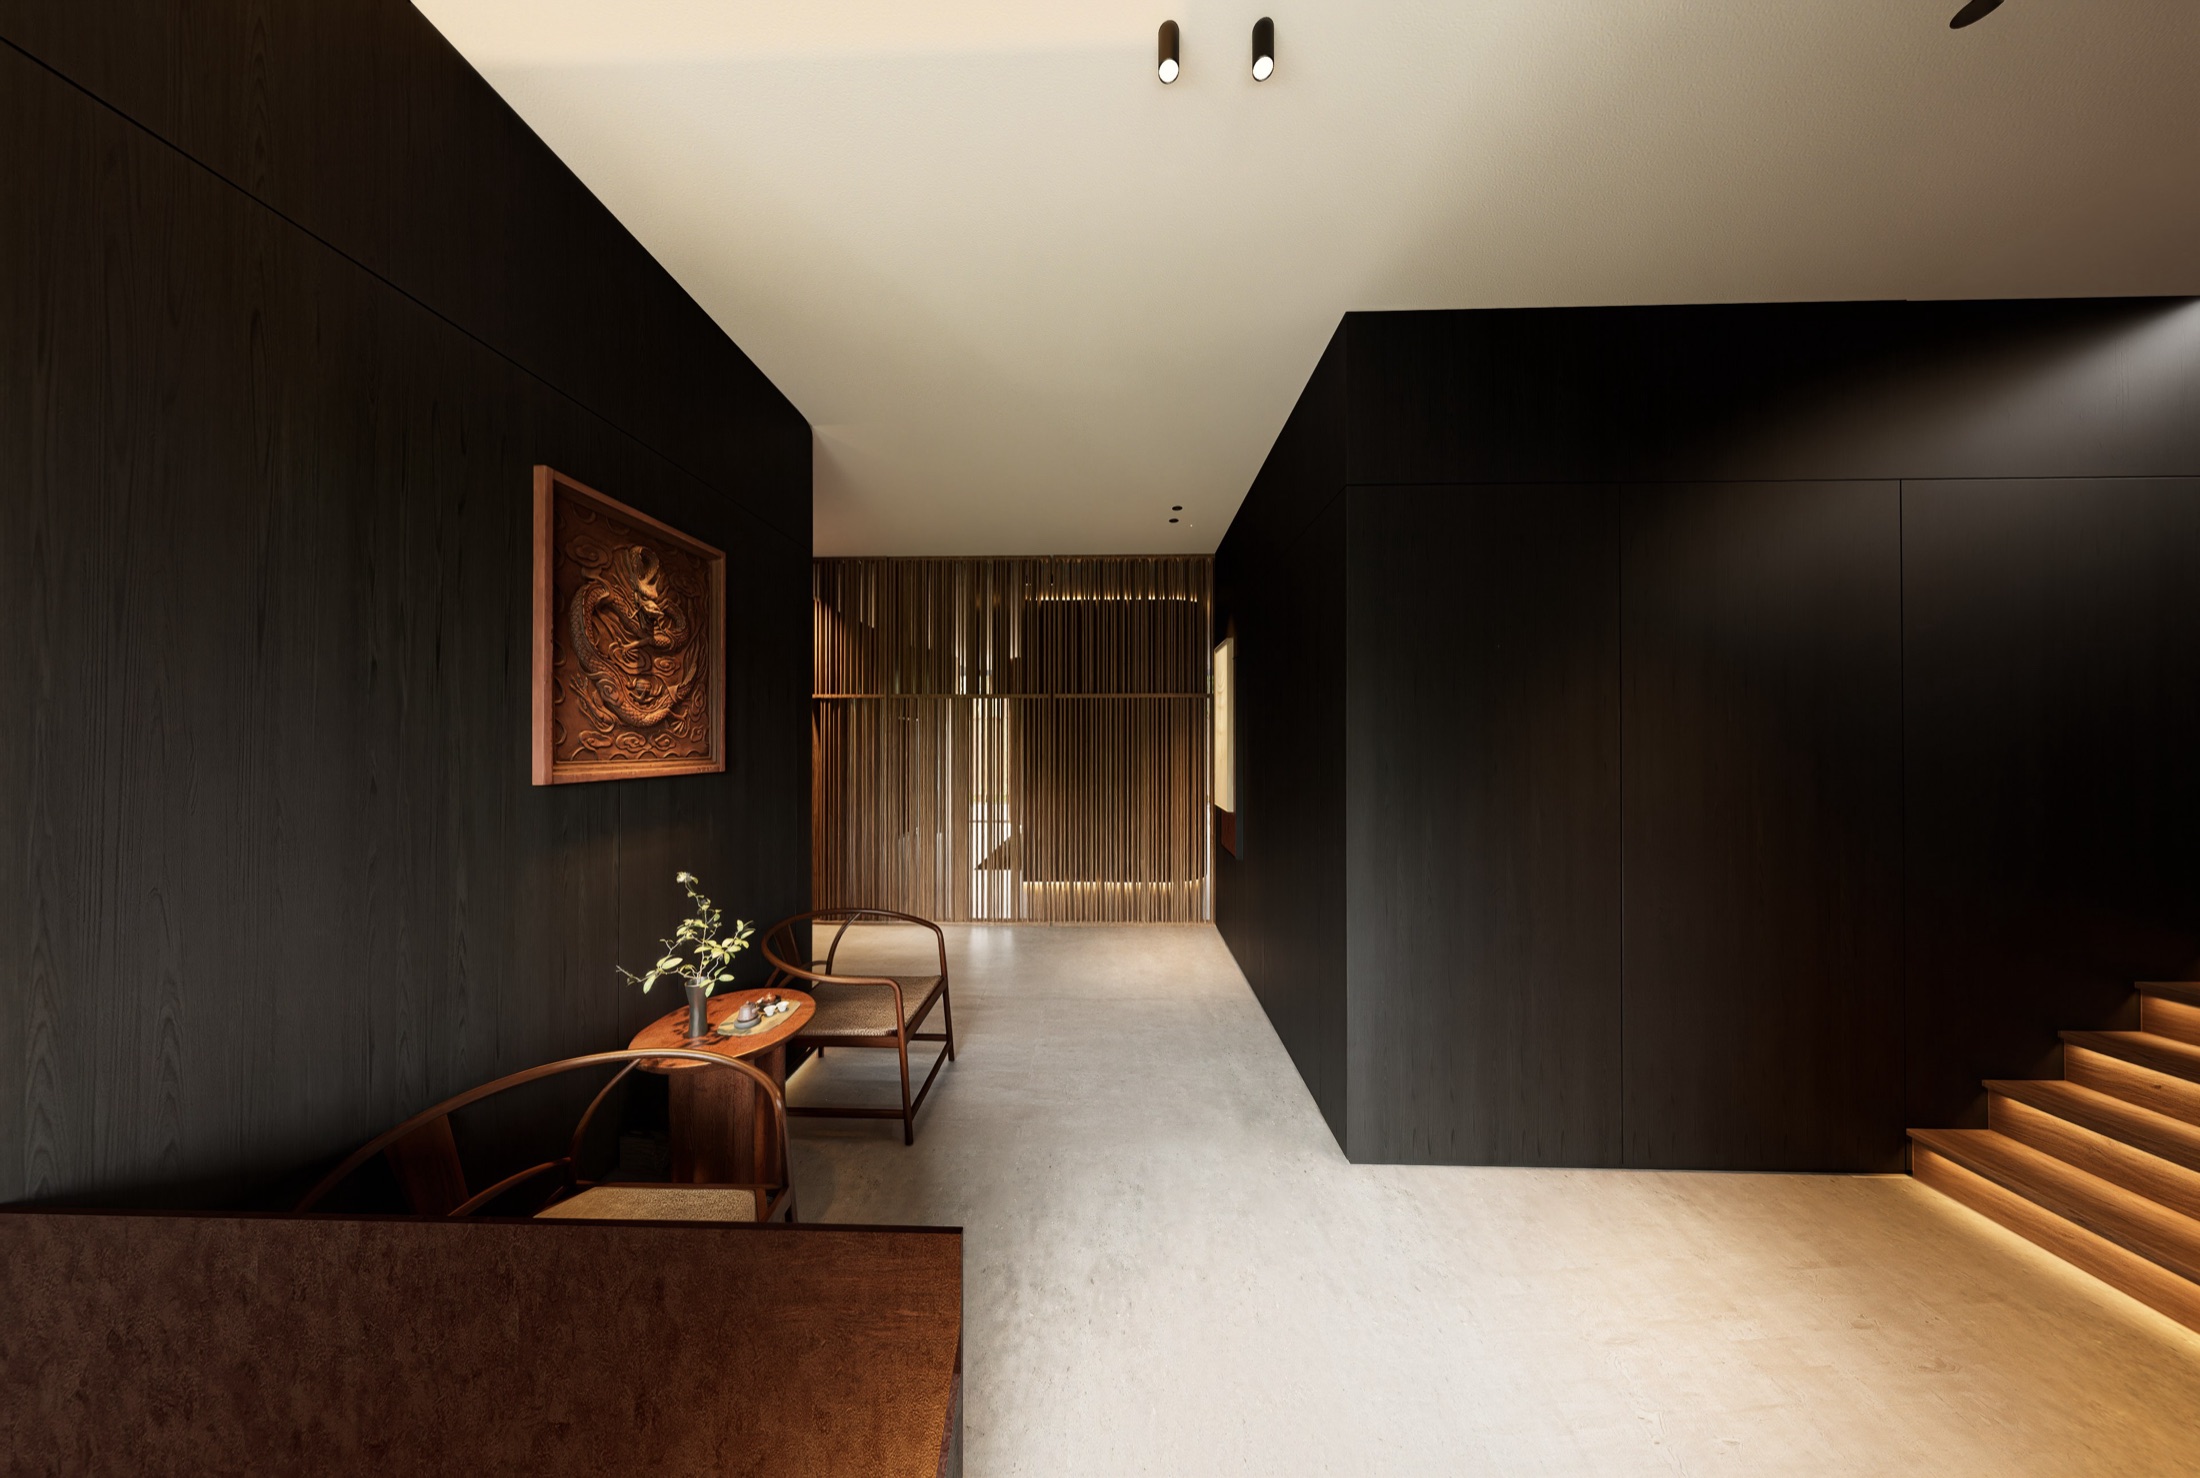
Skim coat is normally applied in three layers, left to dry completely, then sanded. That sanding should be done under a strong lamp, around 200 W, held close to the wall and shining along it rather than at it.
Light thrown straight at a wall flattens everything and hides the ripples. Light thrown along it does the opposite: every high and low spot casts a long shadow, and the plasterer can see exactly where more work is needed.
It is an old trick, it costs nothing, and you can do it yourself at handover: turn the room lights off, hold a phone torch flat against the wall and sweep it along the surface. Anything short of standard shows up at once.
The usual paint build is worth knowing too: three coats of skim, one primer, two finish coats.
5. Before the first chase is cut, the drawing should be on the wall itself
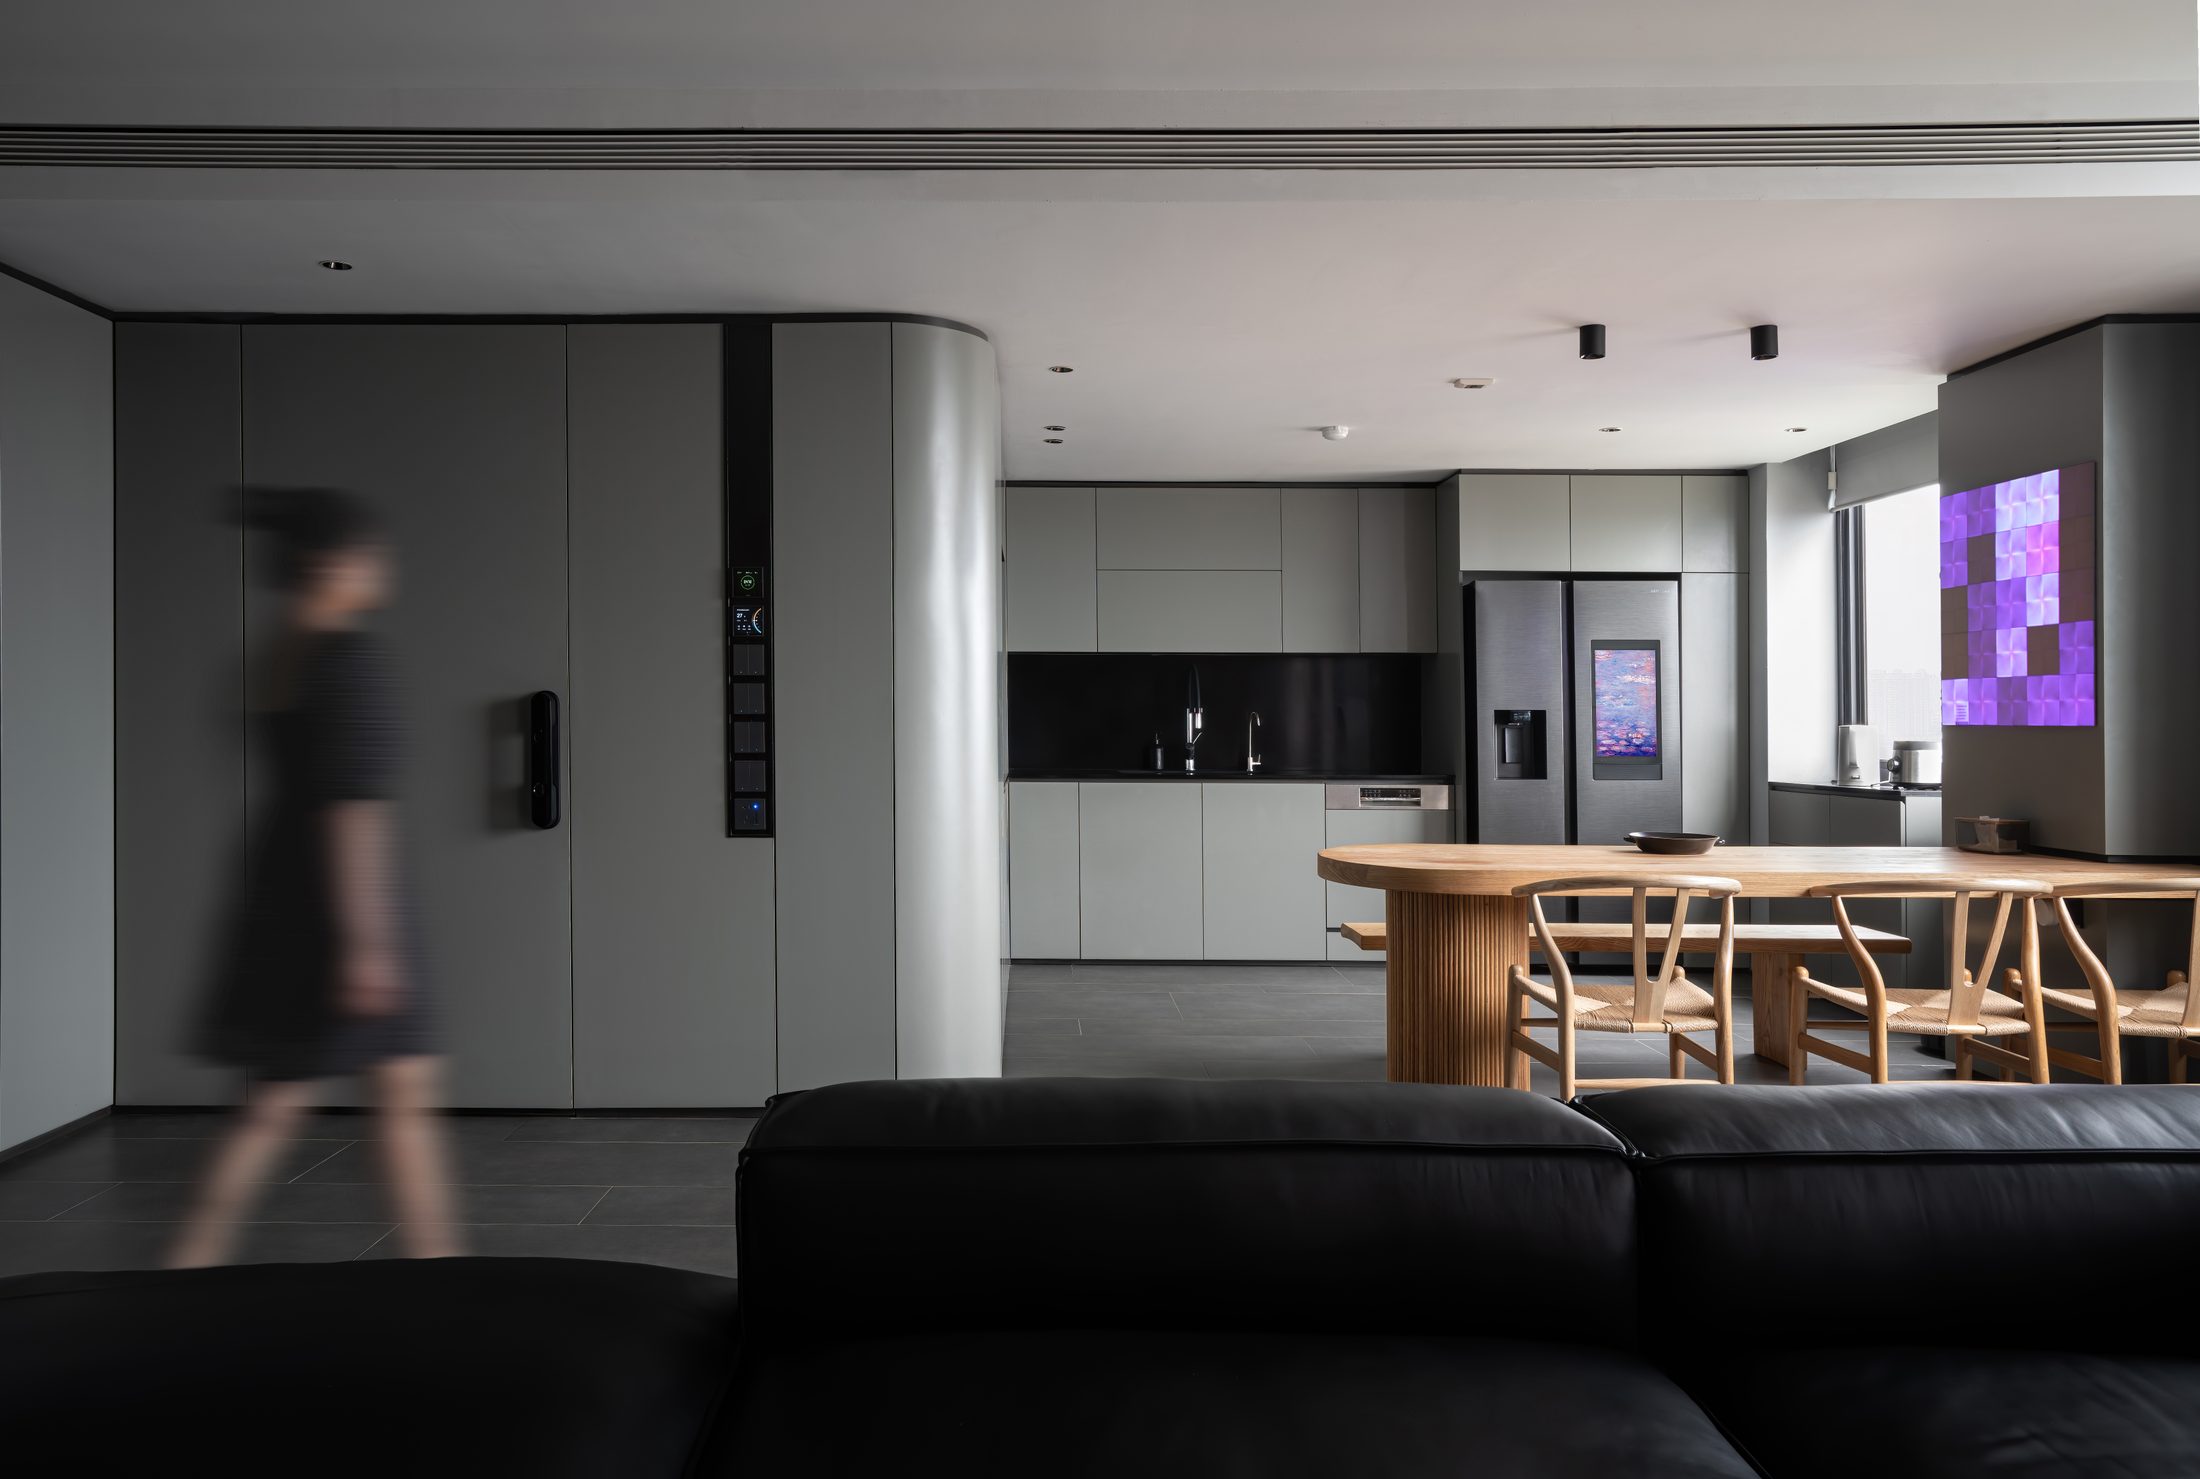
Before any chase is cut for services, the full set of setting out lines should be marked on the actual walls and floor: finished floor level, ceiling level, socket and switch heights, light positions, water supply and waste points, air conditioning positions, wall feature lines, and most importantly the dimensions of the furniture that will stand there.
That last one is the one that gets left out. Anyone who has built a house knows the result: a socket behind a wardrobe, a switch hidden by a door leaf, a water point ten centimetres off the basin.
When the cabinet dimensions are on the wall before the chases are cut, those clashes appear while they can still be fixed with a piece of chalk rather than an angle grinder.
Worth asking: to see the walls photographed after setting out and before cutting.
6. As built photographs with dimensions written on them
Before the walls are closed up, every run of pipe and cable should be photographed with dimensions marked against a fixed reference, particularly around mirrors, basins and vanity units, which is where people drill.
It takes ten minutes. Its value appears long after the site team has gone: five years later, when you want to hang another mirror or fix a shelf, you know exactly where not to drill.
Almost no contractor raises this, because it concerns what happens after handover, and after handover their work is done.
Worth asking: in what form the as built photographs are handed over, and whether they carry dimensions.
7. Was anyone working on site today
The biggest worry for most owners is not quality but silence: weeks passing with no idea whether anyone has touched the site.
The remedy is not complicated. A daily log recording how many trades were present, "nine today: seven carpenters, two painters", with site photographs carrying the time and place stamped on the image. A weekly minute, each item assigned to one person with a date it must be done by.
This matters more on projects where something is being made to order and has to be waited for. Through that wait, the only thing that holds trust together is regular information, including when the information is that nothing changed this week.
Worth asking: how often you will be updated, and in what form.

More from the journal
Do you have a plot, or a house waiting to be finished?
Call us. You do not need drawings and you are not committing to anything. Tell us how many people are in the family, how large the plot is, and where you are stuck. Sukha Space designs and builds, so the answer comes from the people who would put the house up, not from someone who draws it and hands it to a contractor.